
At some point, the grout between your tiles is going to start to fade in colour; it may also crack and chip, or soak in mould and soap marks that seem impossible to get rid of. These sorts of issues can range from an unsightly appearance to allowing water to seep behind your tiles and cause all sorts of moisture issues. Fortunately, replacing mouldy or defective grout is a relatively easy and inexpensive DIY project for those willing to give it a try.

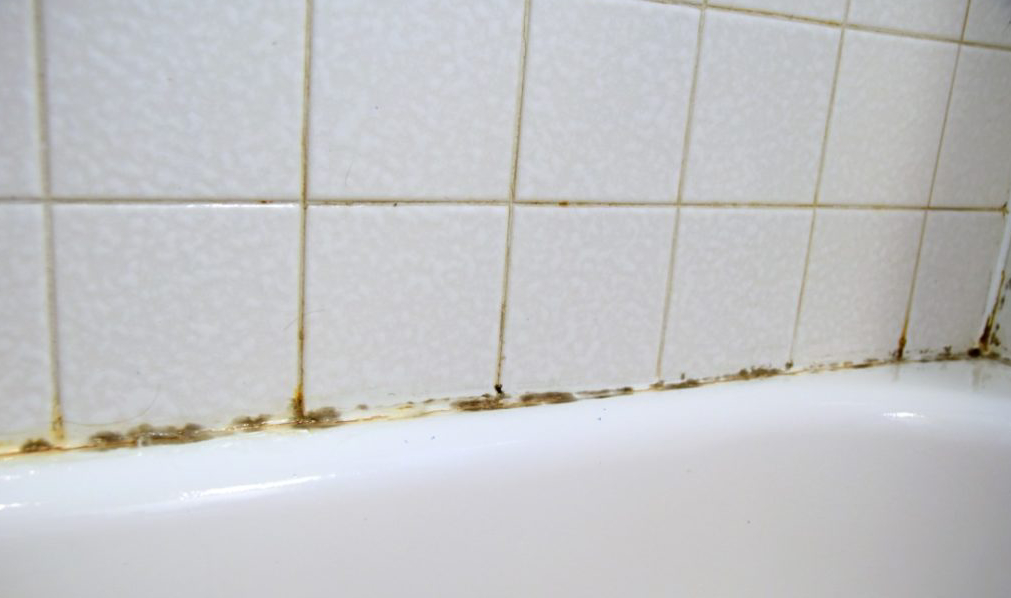
Textbook example of cracked grout
Before you jump headfirst into your re-grouting project, it’s important to remember that you’ll need to match your existing grout colour. This isn’t as simple as choosing between white, brown, and grey, for example, because grouts come in many different shades; there are also different kinds of grouts that are better suited to the width and depth between your tiles (depending what these measurements are). Where purchasing your replacement grout is concerned, it’s best to try and scrape away a few chips that you can take into your local tile store. This will allow your local tile experts to help you find your best match; measuring the width (and if possible the depth) between your tiles will also help to determine the right product and the overall quantity required. It’s also a good idea to know what kind of tiles you have on your walls, as certain kinds of grout have the potential to scratch tiles that are made of glass or marble, among other materials.
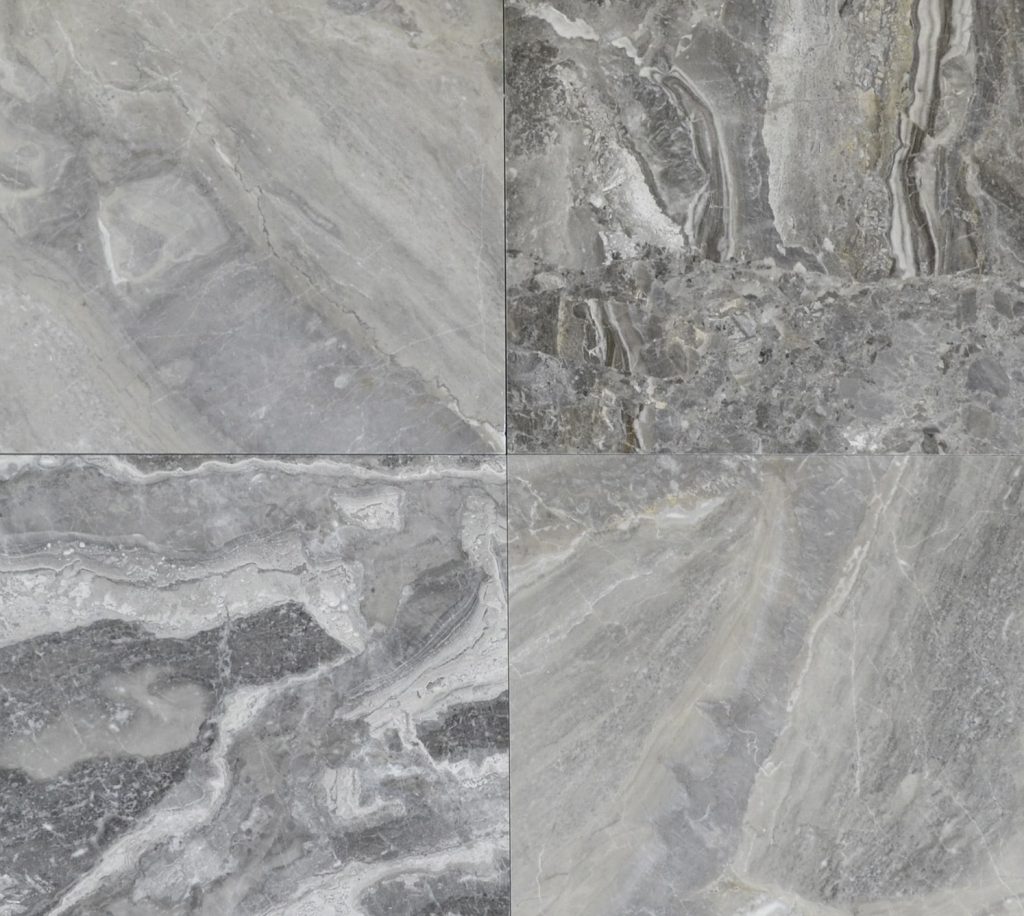
Marble tiles such as these are more susceptible to scratching
It’s a good idea to clean the area you’ll be working with before you get stuck into the real work. A mixture of vinegar and water will help to clean most surfaces and remove spots of soap scum and mould build up. When the area is clean, you’ll need to remove the existing grout between the tiles. This is best done with a grout saw, which is essentially a special blade that removes grout in a timely fashion. You’ll need to run the saw up and down the grout line until all the grout has been cut away, being careful not to chip the tiles in the process.

A fairly standard grout saw
When you’ve achieved this, grab a vacuum cleaner or soft brush and remove all the loose debris from the tile spacings. Following this, wipe down the tiles with a bit of water so that there are no remaining residues that might interfere with the consistency of the grout.
Next, you’ll need to mix the replacement grout. Be careful to follow the instructions and ensure the right proportions of water and dry mixture are adhered to. Poorly mixed grout can result in the grout crumbling and falling out, or not setting properly. Spread the mixed grout with a float, holding the float at an angle and filling the tile spacings completely. Work from the back to the front for horizontal surfaces, and from the bottom up for vertical ones; this will ensure you don’t work over yourself and will stop the grout from running in the joins.
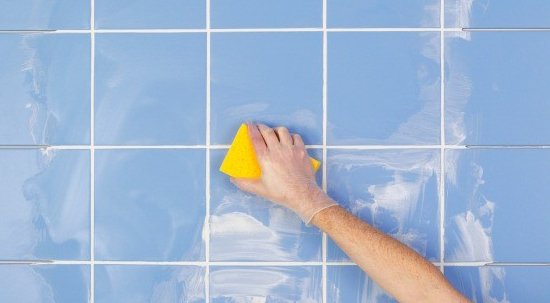
Clean away excess grout with a sponge
Give the grout time to set before removing any excess grout from tiles with a wet sponge. After the first application has dried, you can add a skim coat to fill in any holes and imperfections. Again, clear away excess grout with a wet sponge after the grout has had some time to set. Follow the manufactures instructions to allow the grout to harden firmly. Afterwards, there may be a hazy residue left on the tile surfaces, clean and polish the tiles with a dry rag, being careful to steer clear of the grout lines. If required for your chosen product, apply a grout sealant once the grout is completely dry.


No Comments