

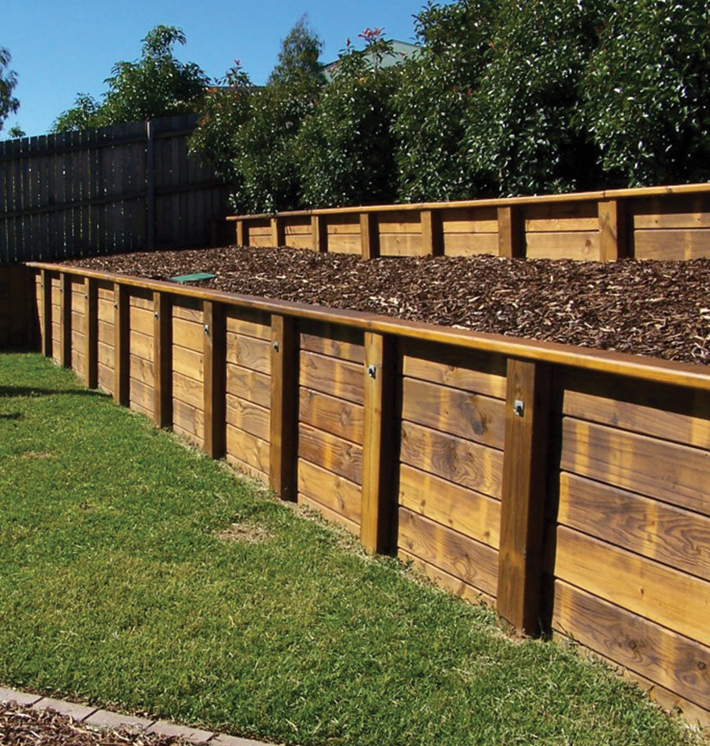
If you’ve got a sloped backyard that needs levelling or dreamed of raising up some garden beds, then a timber retaining wall could be a good way to go about it. Retaining walls are a great way for maximising space and separating lawns from garden areas, which helps to keep things tidy and easy to maintain.

Two walls, One lawn
Although building a retaining wall sounds like a big job, timber options are relatively light weight, cost effective, and are an achievable DIY project.
With retaining walls, it’s important to keep in mind that once they reach a height of 600mm or more, or encroach within 900mm of a boundary, then council approval may be needed. Even if this isn’t the case, it may be a good idea to check in with your local council anyway, as each local government area tends to have its own rules and regulations.

If you have designated easements on your block, then there may also be some restrictions on the building work that can be undertaken within them.
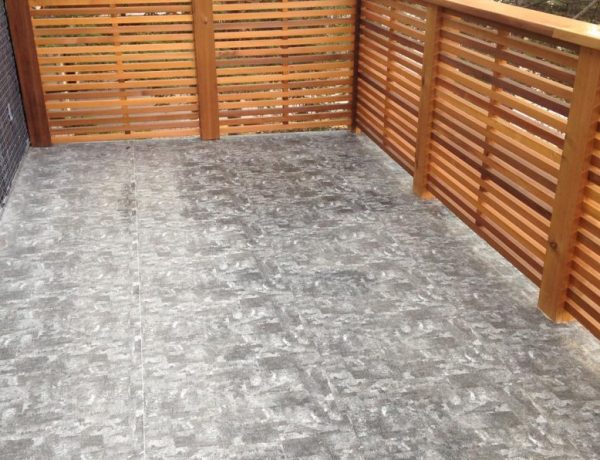
Timber retaining wall boards come in different lengths and thicknesses. The thicker the boards, the more weight your wall will theoretically be able to retain behind it. With that in mind, the longer and thicker the boards are, the heavier they are to lift into place; they’ll also take longer to cut and may require a larger saw blade to get through them.
A retaining wall with thick timber panels
When it comes to building a retaining wall, the art is in the setting out. Clear the area you want to work with and determine the length of the timber retaining boards you’ll use. At a minimum you’ll need end posts, and then joining posts for where the retaining boards butt into each other. This makes it important to get your posts in the right place. Measure things out carefully, using spray mark to highlight where you need to dig you post holes. Concrete your end posts in first, making sure they face the same angle and direction. When the concrete has hardened, run a string line across the front of your end posts.
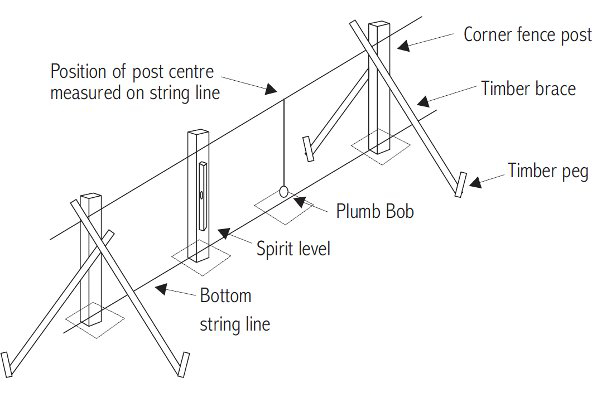
Planning your retaining wall will give you guidance and focus
This will plot the line that all your intermediate posts need to face and will allow you to set out your wall nice and straight. When the intermediate posts have also been concreted, you can begin screwing off the retaining boards. If you are using particularly long retaining boards, you may need to consider putting secondary intermediate posts along the length of your wall, which will stop the boards from bowing in the middle as they begin to bear weight.
A couple of things to keep in mind as you progress. First, when digging your post holes, their depth should be determined by the height of your wall. A general rule of thumb is that the depth of your post hole should be a minimum of 300mm deep and match half the height of your retaining wall. A retraining wall of 1000mm, then, should have post holes 500mm deep. This ensures the footing can bear the load and stops the posts from toppling over when the earth begins to push up against them. Some settling will likely occur regardless, and it can often be a good idea to concrete in your posts slightly out of plumb by leaning them backward by approximately 20mm. Over time, as the
settling occurs, the posts are more likely to end up straight, rather than leaning forwards if this approach is taken. Lastly, if you’re using treated pine for your retaining wall, it’s advisable to invest in a treatment spray so that any freshly exposed ends can be sprayed and sealed. Water is a retaining walls greatest adversary when it comes to longevity and exposed ends that haven’t been treated will absorb water readily and slowly begin to rot.
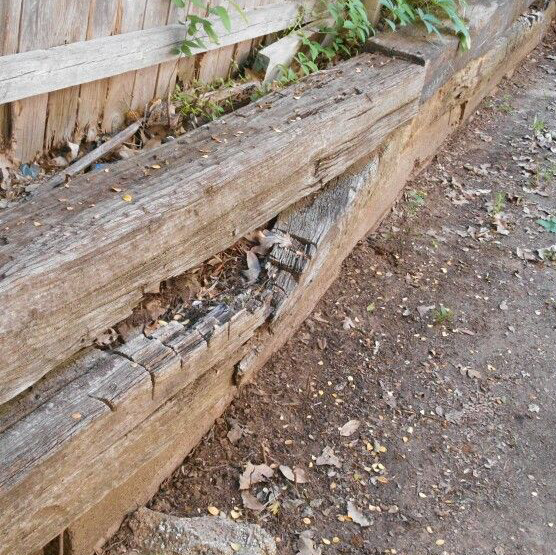
A retaining wall succumbing to rot

No Comments